Alessandra Amosso
Notes, code, and writing
🐍 How I turned a simple Python script into a Web App with Render
by Alessandra Amosso
How I turned a simple Python script into a Web App with Render
For a recent project, I needed to compute the radius of a neutron star based on its mass, using data from the Compose database. Compose provides a variety of equation of state (EoS) tables, which can be downloaded as .zip folders.
Initially, I wrote a simple Python script that could:
-
Accept an
eos.zipfolder downloaded from Compose -
Extract the
eos.mrfile, which contains mass-radius data -
Interpolate the radius corresponding to a user-provided mass
Eventually, I decided to turn this Python script into the backend of a web app, so it could be used directly in the browser.
Why a Web App? A Note on Structure
To make the script immediately accessible by anyone, without downloading the project or running anything locally, I needed a web interface. That meant creating two main parts:
- A backend, which runs the original Python code
- A frontend, which provides the user interface in the browser
These two parts need to communicate. But a browser can’t call a Python function directly.
This is where the concept of an API (Application Programming Interface) comes in.
The API acts like a “bridge” between the frontend and backend. The frontend sends a request (e.g., “Here’s a eos.zip folder and a mass”), and the backend replies with a result (e.g., “The radius is 12.6 km”).
Here’s a simplified diagram showing how the frontend and backend interact through the API:

What to expect
This is the workflow I wanted to implement:
- The user uploads an EoS
.zipfile and inputs a neutron star mass - The backend unzips the folder and extracts the
eos.mrfile - The radius is interpolated from the data
- The result is returned to the frontend and displayed
In this post, I’ll walk you through the steps I followed to make it all work.
💻 The full project is available on GitHub: ns_eos_extractor
Project Structure and Visual Studio Code Setup
The first step was to organize the project. Here’s the folder structure I used:
ns_eos_extractor/
├── backend/ # Contains the Python script and FastAPI API
└── frontend/ # Contains the React-based frontend
I worked on the entire project in Visual Studio Code, which made it easy to switch between frontend and backend development.
Backend Setup (Python script + FastAPI)
Creating and Activating a Virtual Environment
To avoid conflicts with other Python packages, I created a virtual environment inside the backend folder.
From the command prompt:
cd backend
python -m venv venv
Then, to activate the virtual environment (on Windows):
.\venv\Scripts\activate
The Python script
The backend folder contains both the script and the API. Even if putting both in the same folder may look confusing, it’s very practical for the web service deployment.
Here’s my extract_radius function, which is the core logic that the API will use:
def extract_radius(zip_stream, target_mass):

    with ZipFile(zip_stream) as zip_file:
        if file_mr not in zip_file.namelist():
            raise ValueError("File 'eos.mr' not found in the zip archive. Please try with another EoS.")


        with zip_file.open(file_mr) as file_mr_stream:
            masses, radii = load_mass_radius_data(file_mr_stream)
            masses, radii = sort_masses_radii(masses, radii)
            radius = interpolate_mass_radius(masses, radii, target_mass)
            return radius
Note: The functions load_mass_radius_data, sort_masses_radii, and interpolate_mass_radius are helper functions defined elsewhere in the script.
Frontend
For the frontend, I decided to use React, which is one of the most popular libraries for building web apps. It allows you to build interactive interfaces by combining small components.
To use React, you need Node.js. I downloaded it from nodejs.org, and I picked the LTS (Long Term Support) version, which is usually the most stable.
After installing it, I checked that everything was working using:
node -v
npm -v
Then, from the root of the project, I generated the React project:
npx create-react-app frontend
cd frontend
This command creates a new frontend folder with all the necessary files, including App.js, the main component of the interface.
After that, I installed Axios, a library for making HTTP requests:
npm install axios
To check if everything worked, I launched the app from the frontend folder:
npm start
And I saw the page on http://localhost:3000.
After that, I modified the layout and added a form to upload the .zip file and insert the mass.

To make the frontend communicate with the backend, I used Axios to send the user inputs (folder and mass) to the API. The code below shows a simplified version of the request logic. It’s part of the main React component App.js and gets triggered when the user clicks the submit button.
// Use the deployed backend URL if available, otherwise default to local server
const apiUrl = process.env.REACT_APP_API_URL || "http://127.0.0.1:8000";

const handleSubmit = async () => {
  if (!file || !mass) return;

// Prepare the data to send as a multipart form
  const formData = new FormData();
  formData.append("file", file);   // EoS zip file
  formData.append("mass", mass);   // Desired neutron star mass

  try {
     // Send the POST request to the backend API
    const response = await axios.post(`${apiUrl}/get_radius`, formData);
     // Display the result
    setResult(`Estimated radius: ${response.data.radius} km`);
  } catch (error) {
    setResult("Request failed");
  }
};
Note: Make sure the
apiUrlis correct depending on where you’re running the backend — locally (http://127.0.0.1:8000) or online (e.g. on Render).
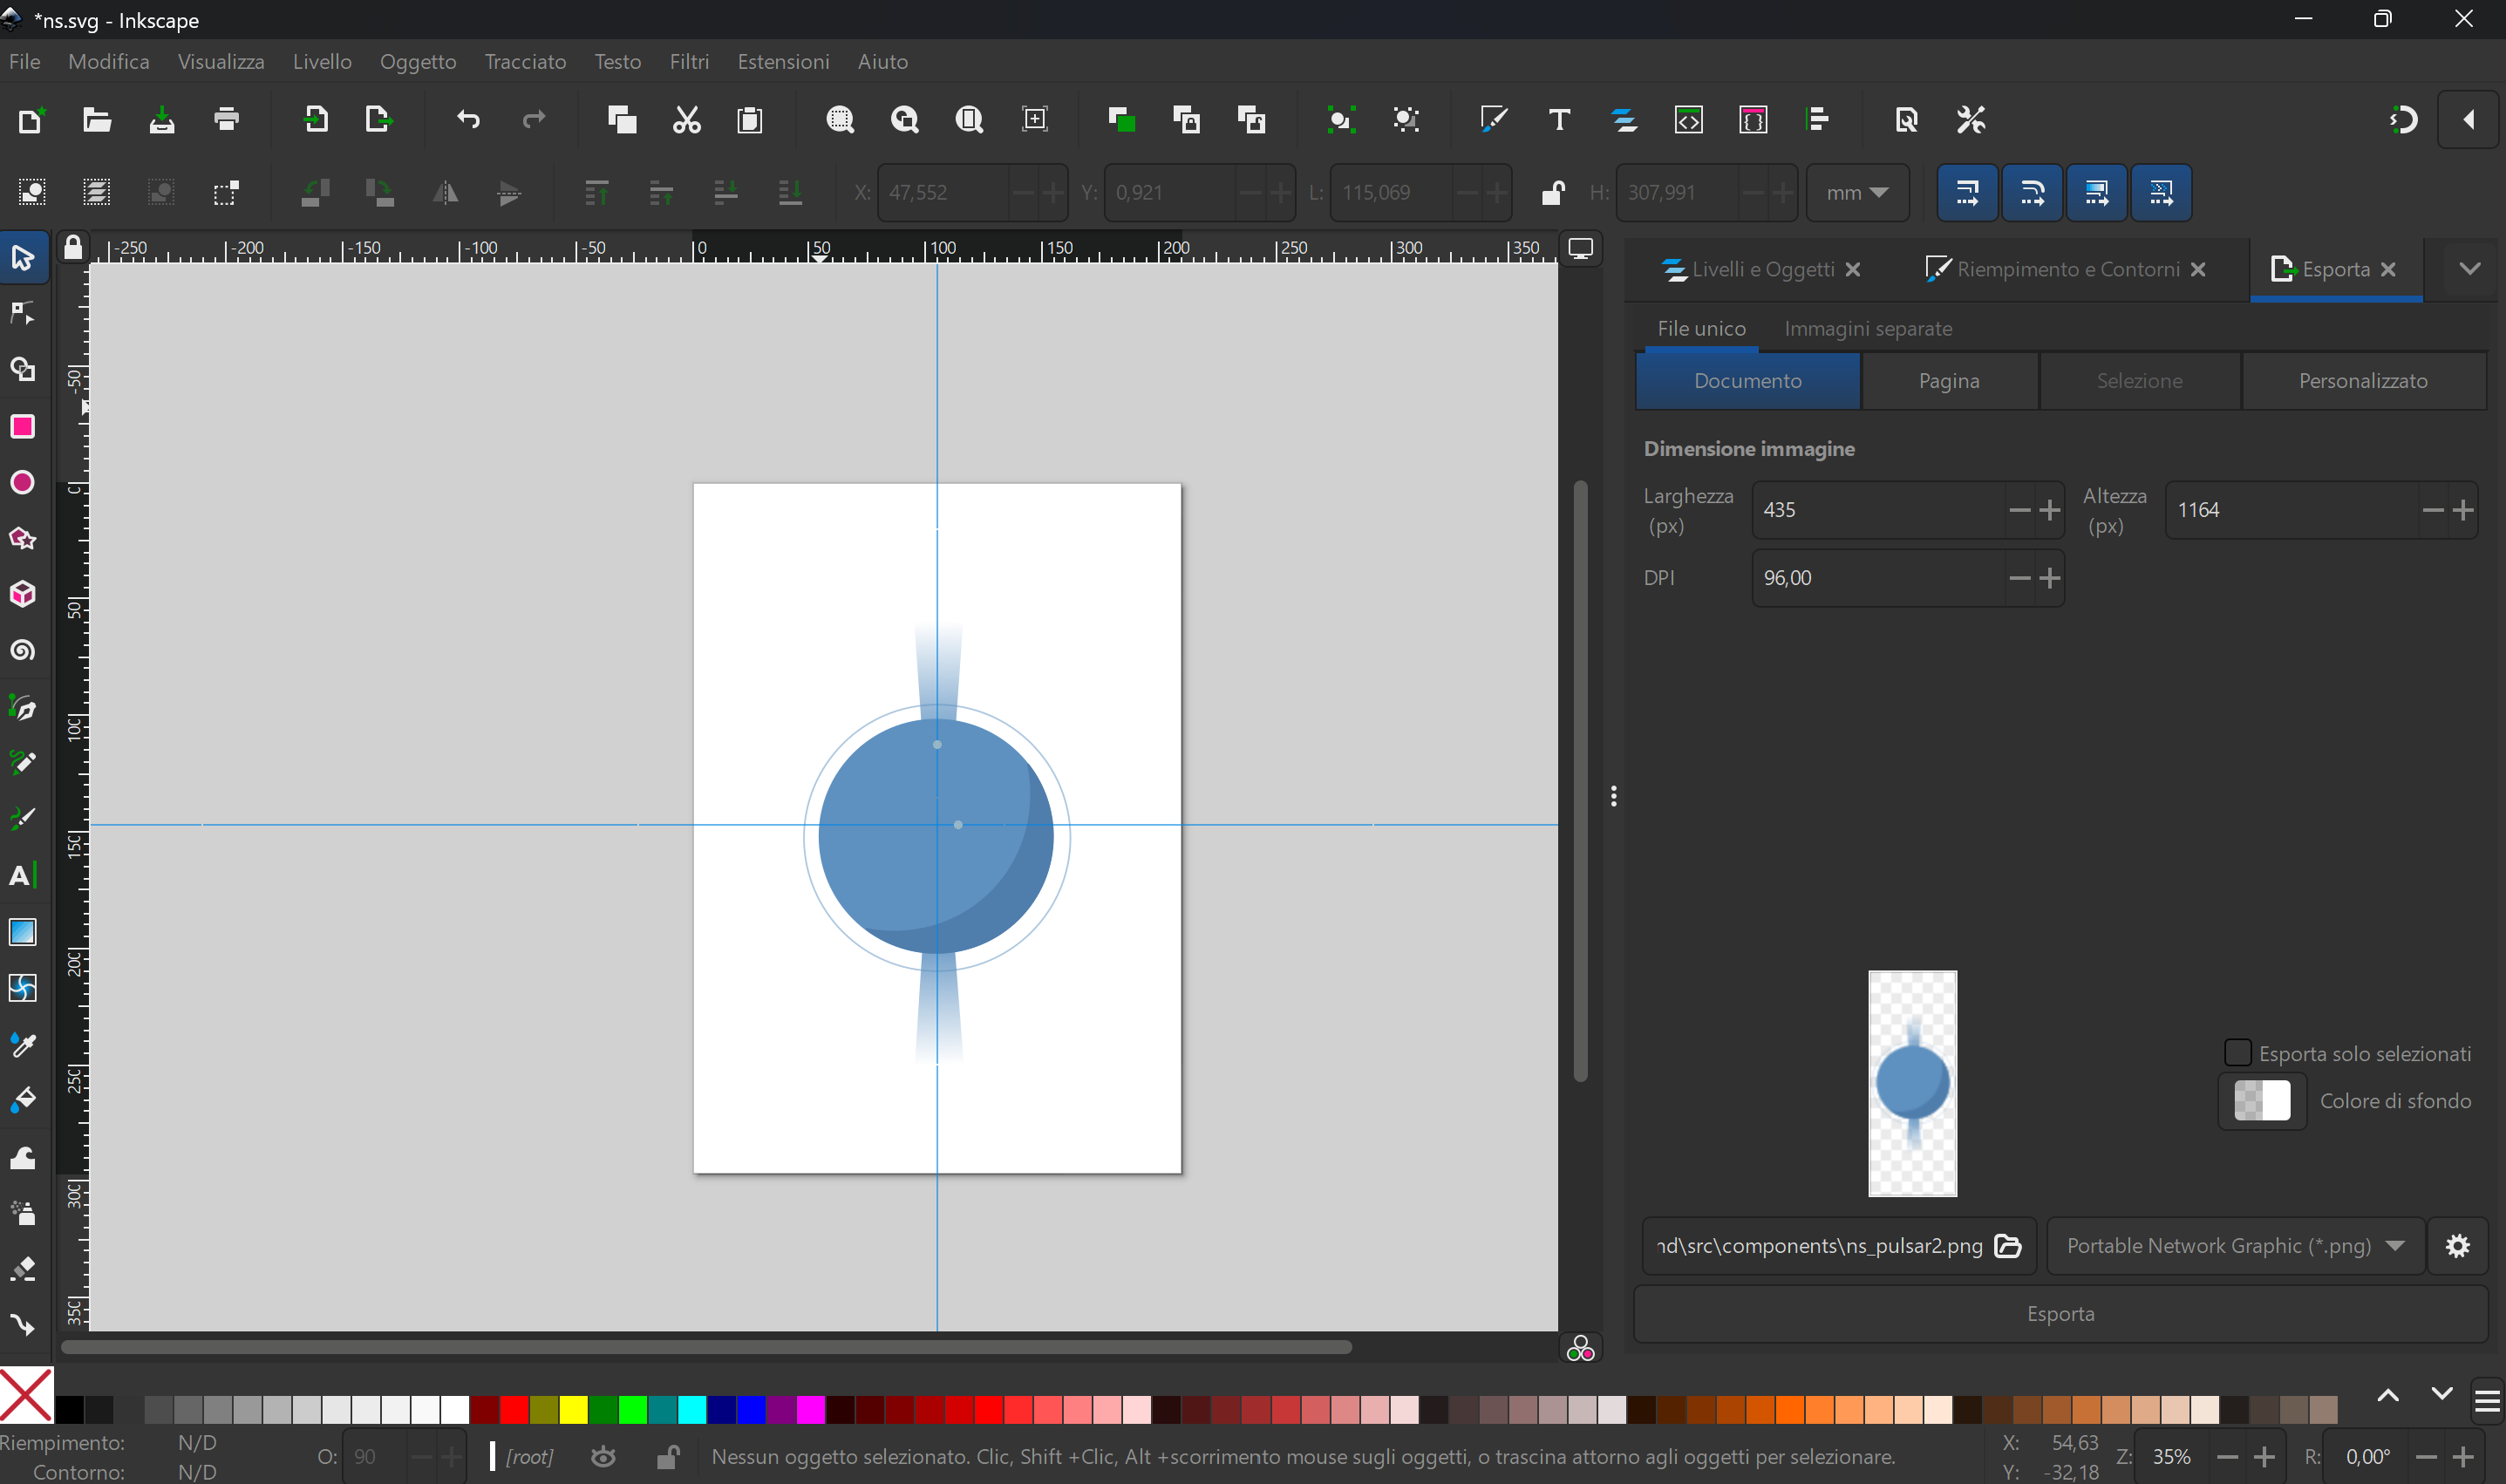
🎨 Bonus Tip: I created the neutron star icon using Inkscape, a free and open-source vector graphics editor. It’s a great tool for creating clean, scalable illustrations.
API
Once both frontend and backend were ready, I had to make them talk to each other. For that, I used FastAPI, a Python framework designed specifically to build APIs.
Inside the backend folder (with the virtual environment active), I installed the libraries I needed:
pip install fastapi uvicorn python-multipart
After that, I saved the dependencies in a requirements.txt file, which is useful for deploying the backend later:
pip freeze > requirements.txt
Then I created a file api.py, which looks like this:
from fastapi import FastAPI, UploadFile, Form
from fastapi.responses import JSONResponse
from fastapi.middleware.cors import CORSMiddleware

import os
import sys

# Make sure Python can find the script.py that contains the funcrtion extract_radius()
current_dir = os.path.dirname(os.path.abspath(__file__))
sys.path.append(current_dir)
from script import extract_radius

app = FastAPI()

# Allow requests from these frontend URLs (local + deployed)
origins = [
    "http://localhost:3000",
    "https://ns-eos-extractor-frontend.onrender.com"
]

# Enable CORS to let the frontend talk to this backend
app.add_middleware(
    CORSMiddleware,
    allow_origins=origins,
    allow_credentials=False,
    allow_methods=["*"],
    allow_headers=["*"],
)


# Main endpoint: receives a .zip file and a mass value, returns the radius
@app.post("/get_radius")
async def get_radius(file: UploadFile, mass: float = Form(required=True)):
    try:
        radius = extract_radius(file.file, mass)
        return {"radius": round(float(radius), 2)}
    except Exception as e:
        return JSONResponse(status_code=500, content={"error": str(e)})

# Simple GET endpoint for testing if the API is up!
@app.get("/")
async def main():
    return {"message": "Hello! I am working :)"}
Note: CORS allows the frontend (which runs on a different port or domain) to access the backend. Without it, the browser would block the requests.
Running everything locally
To test the whole system, I opened two terminals — one for the backend and one for the frontend. In the backend terminal, after activating the virtual environment:
uvicorn api:app --reload
Then in the frontend terminal:
npm start
At this point, I could upload a .zip file through the browser, insert the mass, and get the radius back from the backend.
Github
Then I have published the code on GitHub, which is the best way to keep everything versioned, and also necessary to connect the project to Render for deployment.
Deploy on Render
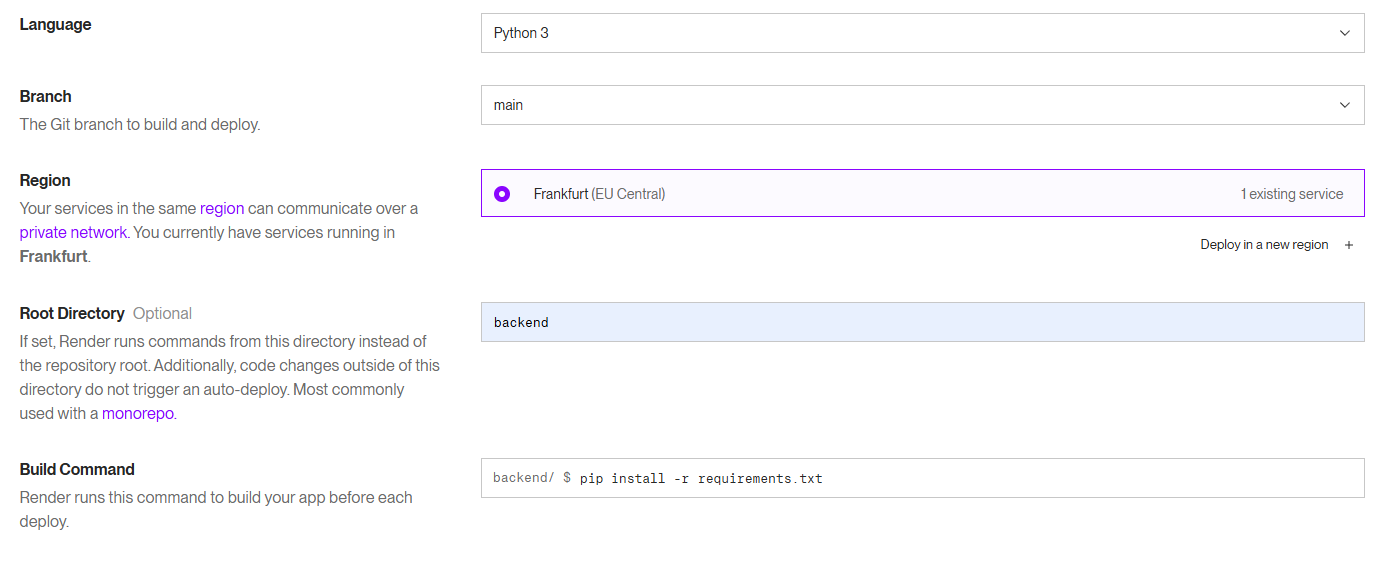
Backend - Web Service
There are many platforms for deploying web services, but I chose Render because it’s simple to configure and offers a free plan. I started by creating an account, then set up a new Web Service from my public GitHub repository. After pasting the repo URL and clicking Connect, I was redirected to the configuration page.
Here’s how I filled in the options:
-
Name: ns-eos-extractor-backend
-
Environment: Python 3
-
Branch: main
-
Region: Frankfurt
-
Root directory: backend
-
Build command:
pip install -r requirements.txt -
Start command:
uvicorn api:app --host 0.0.0.0 --port 8000
I also selected the Free Plan, and added an environment variable to allow CORS from the frontend:
FRONTEND_ORIGIN = https://ns-eos-extractor-frontend.onrender.com/
Then I clicked Create Web Service. After about a minute, the backend was live and ready!
Frontend - Static App
For the frontend, I created a Static Site on Render, starting from the same GitHub repo. This time, the configuration was similar but with just a few differences:
-
Name: ns-eos-extractor-frontend
-
Build command:
npm install && npm run build -
Publish Directory:
build
And the environment variable, to tell React where to send the API request
REACT_APP_API_URL = https://ns-eos-extractor-backend.onrender.com/
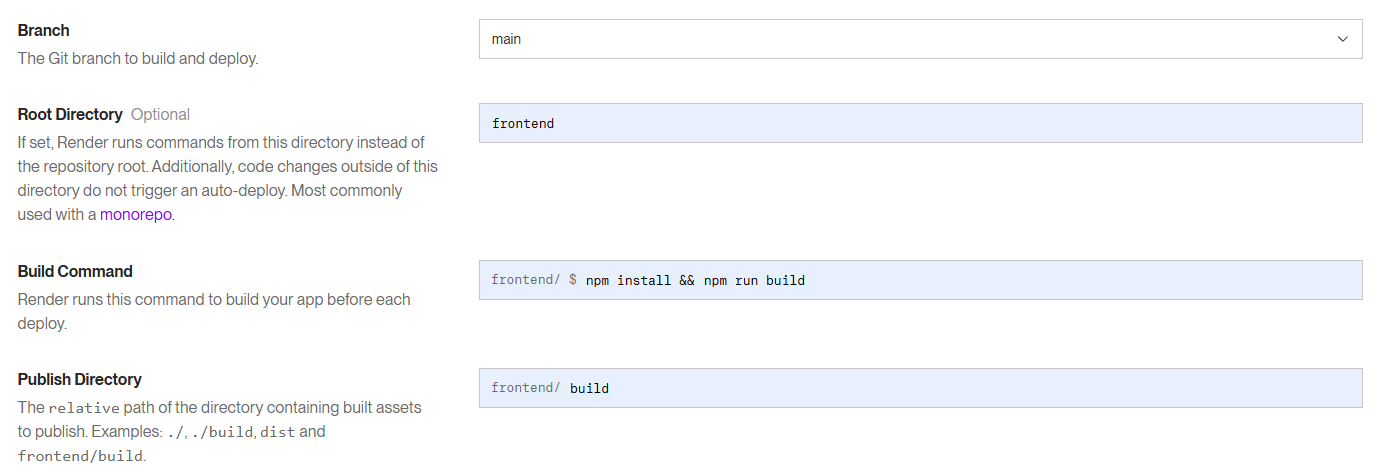
Once deployed, the frontend was automatically available online.
Final output – The App Online
That’s it! Now, by going to: https://ns-eos-extractor-frontend.onrender.com/ you can upload a .zip file from the Compose database, input a neutron star mass, and get the corresponding radius.
Note: Since I’m using the free Render plan, the backend may go into sleep mode after a period of inactivity. In that case, the first request can take up to 50 seconds to respond.
Here’s a video demo of the project: https://vimeo.com/1105432258?share=copy
tags: python - react - setup - render - fastapi