Alessandra Amosso
Notes, code, and writing
📒 How to start a Jupyter Notebook
by Alessandra Amosso
Dear future me, I know you are going to forget — again — how to launch a Jupyter Notebook.
So here’s a quick guide, for you and for anyone else who stumbles upon this page.
Step 1 — Create a project folder
Open the command prompt and create a new project folder.
Why? Because you don’t want to install packages globally and risk breaking your other projects.
Keeping things clean is your watchword (though it clearly doesn’t apply to your desk right now).
mkdir my_project
cd my_project
Step 2 — Create your virtual environment
python -m venv venv
Step 3 — Activate the virtual environment
On Windows:
.\venv\Scripts\activate
Step 4 — Install Jupyter
pip install notebook
Step 5 — Launch Jupyter Notebook
jupyter notebook
Or, if you prefer Jupyter Lab:
pip install jupyterlab
jupyter lab
Step 6 — Create the first notebook
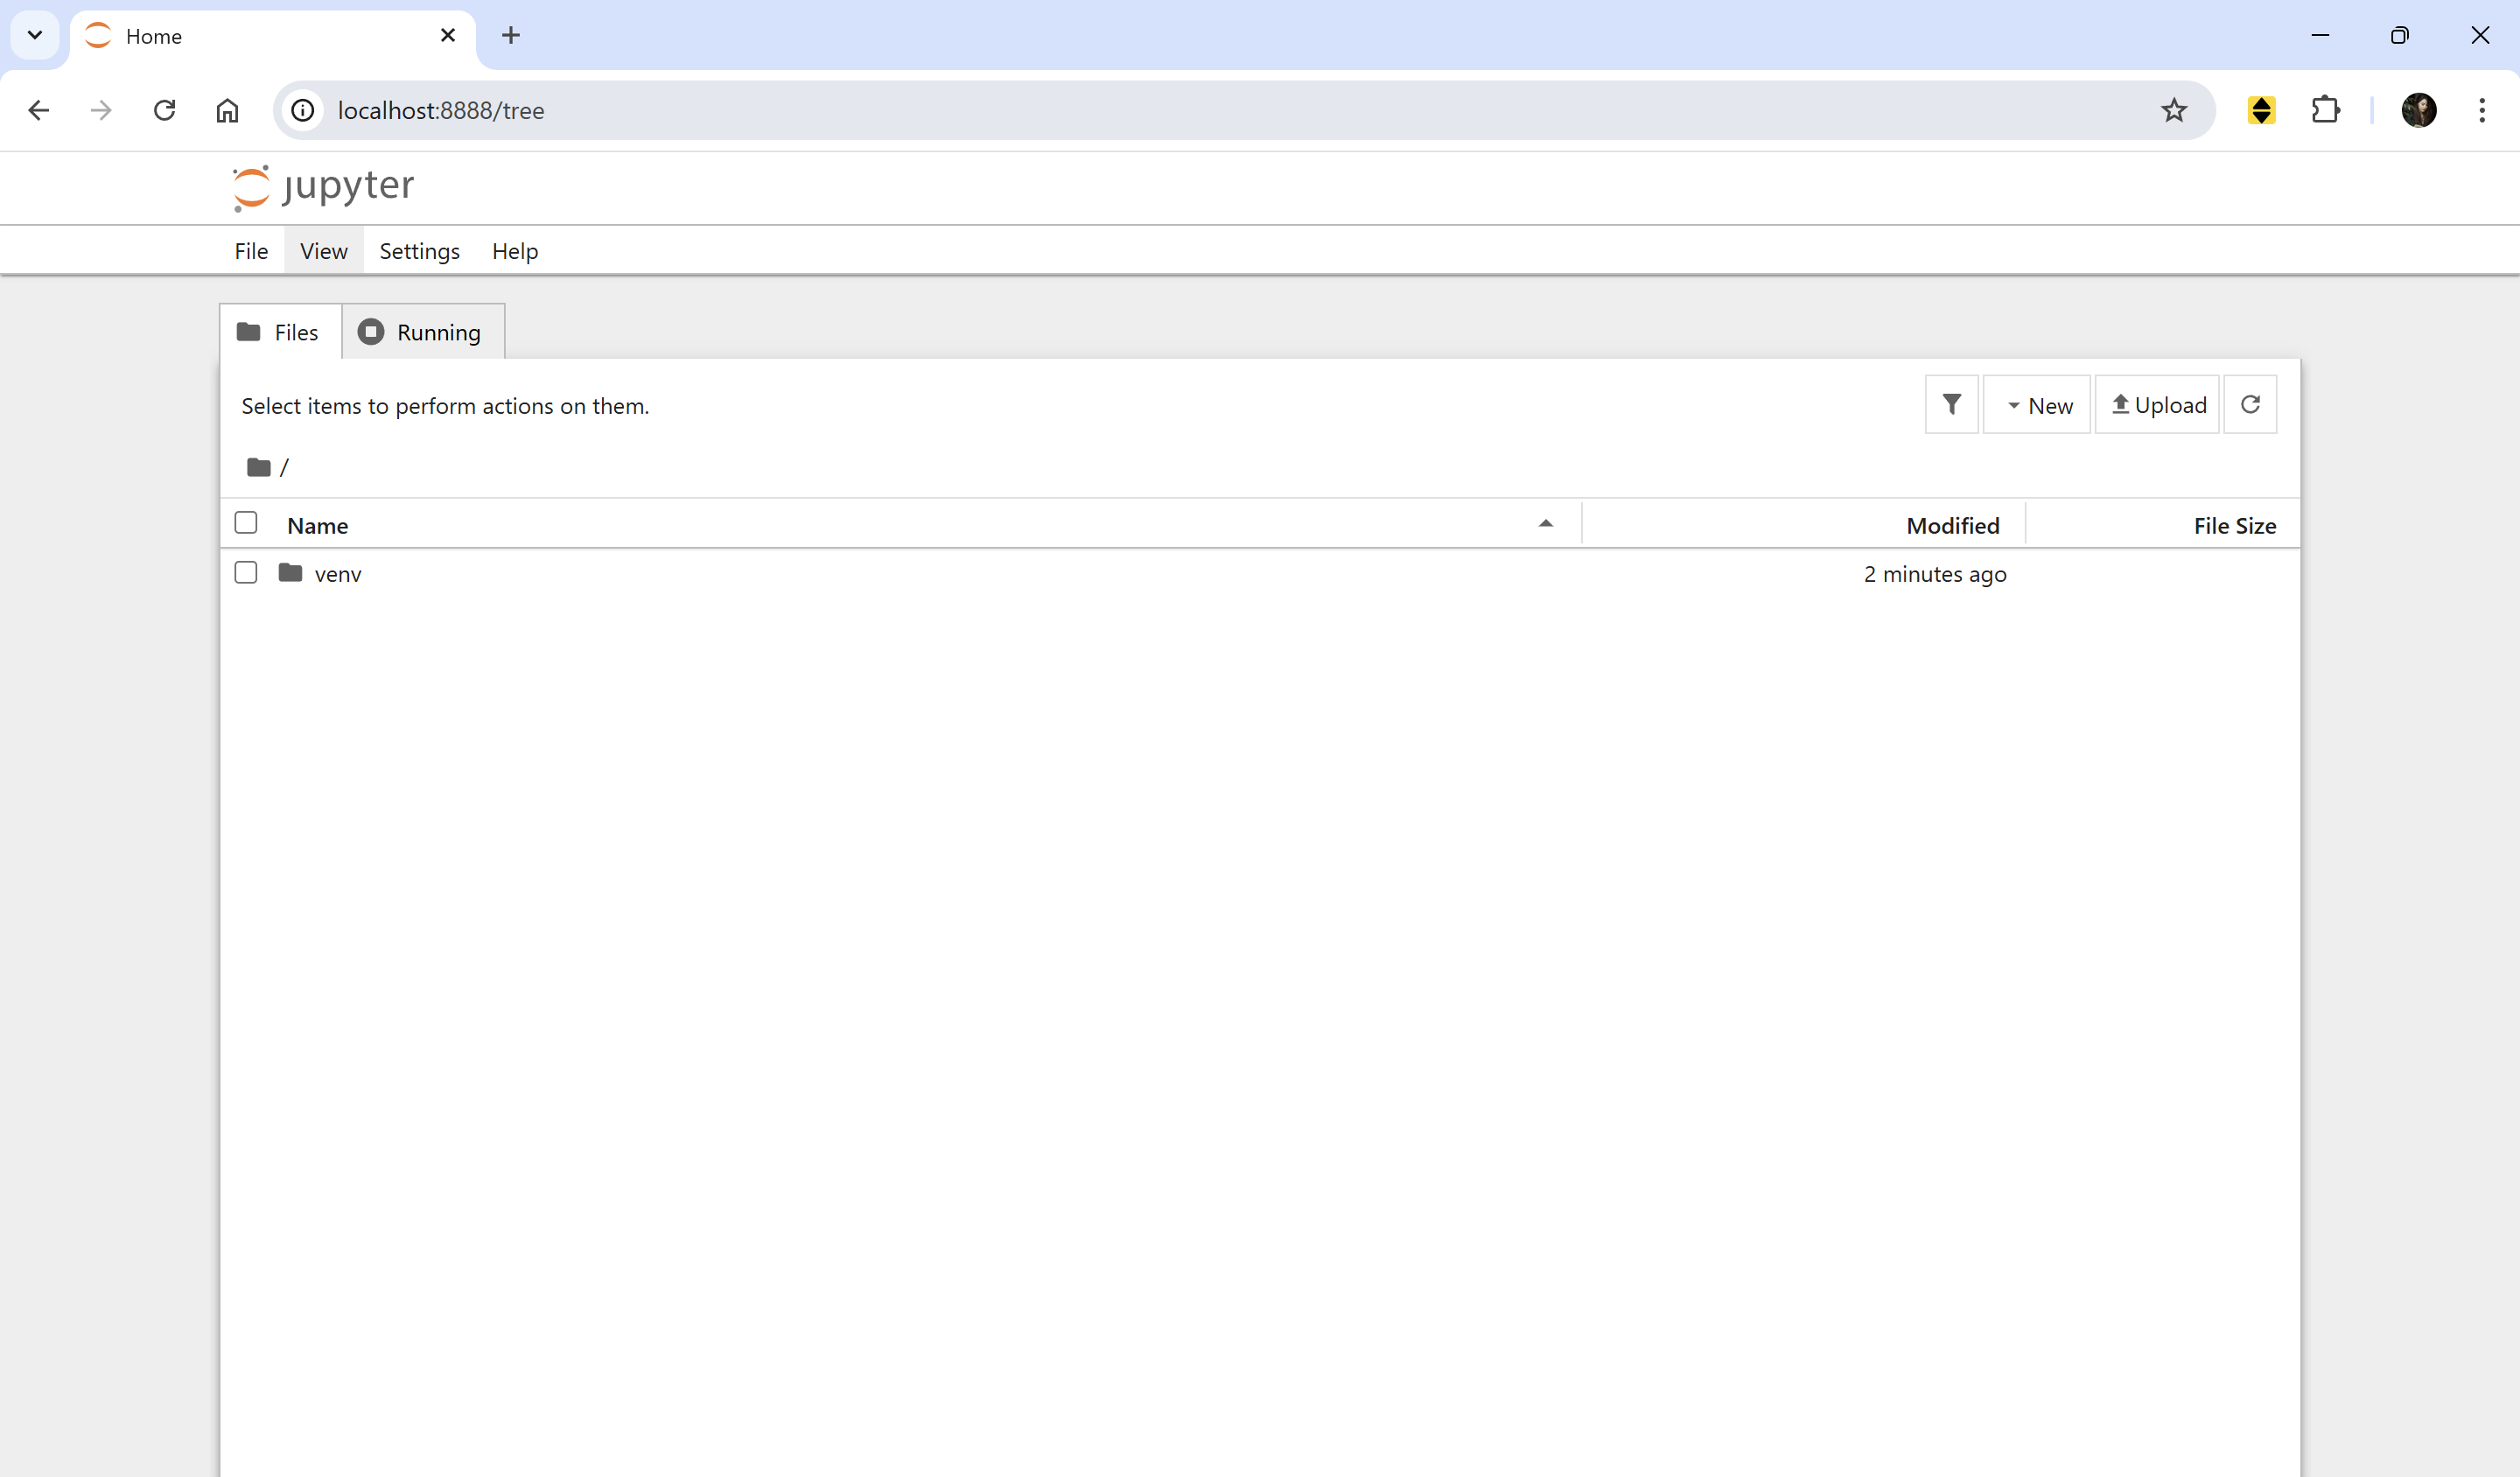
To keep things organized, create a new folder (e.g., notebooks) at the same level as venv folder.
- In the Jupyter interface, click “New” → “Folder”
- Rename the folder to something like
notebooks - Enter the folder
- Click “New” → “Python 3” to create the first notebook!
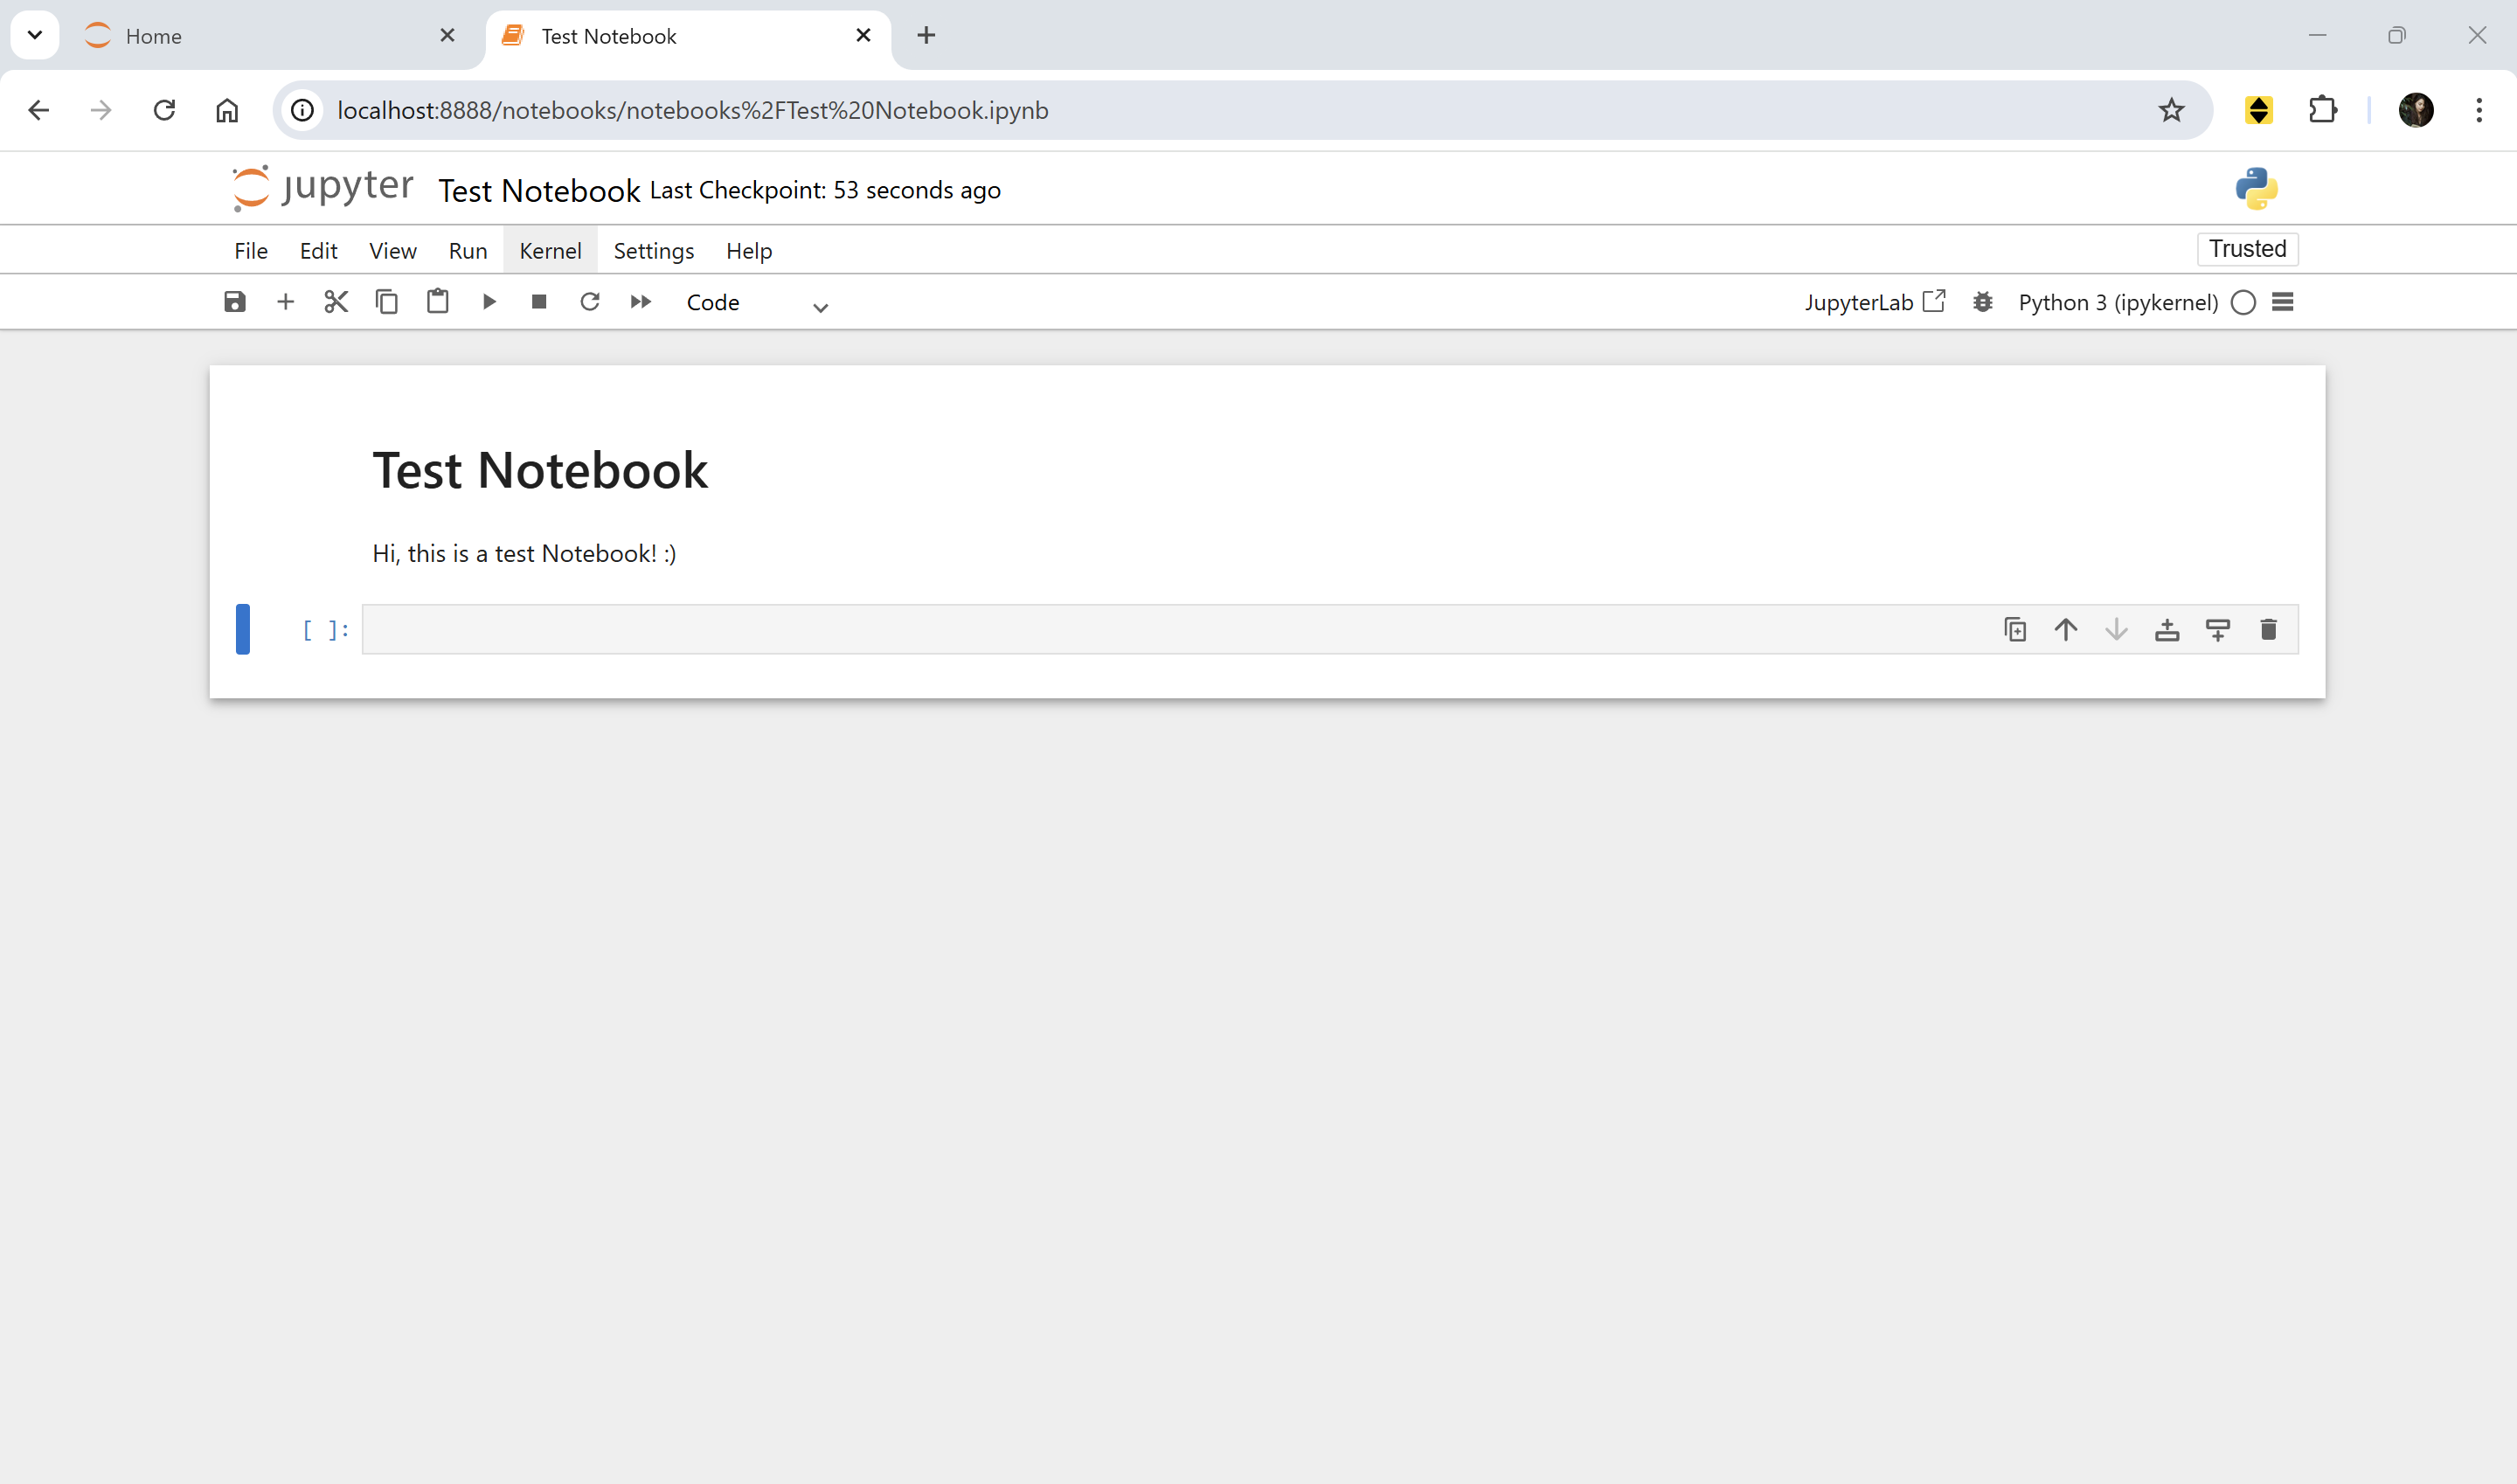
That’s it! Good luck with your new project :)
P.S. Don’t forget to deactivate the environment when you’re done:
deactivate